Last Updated on September 2, 2026 by Umar Farooq
A front-load door leak is almost always the gasket, and the gasket almost always looks fine. The rubber door boot isn’t a flat ring. It is a set of accordion-like pleats that has to press evenly against the door glass around the whole circumference, and a seal like that is only as good as its worst single point. One hair, one thread, one film of detergent residue holding the rubber a fraction off the glass is enough, and water will find it. That is why wiping the face of the gasket changes nothing — the thing breaking the seal is down inside a fold.
The second thing worth settling before you touch anything is when the water appears, because the stage narrows this further than any inspection will. A door leak shows up while the drum is full and turning, since that is the only part of a cycle when water is being thrown against the seal at speed. Water arriving while the tub is still filling is a supply-side fault, and water arriving only in the last couple of minutes is the pump pushing it through the drain path. Both of those leave the door itself dry.
This guide is for water escaping from around the door, the door glass, or the rubber gasket during a wash. It doesn’t apply to top-load washers, which have no door boot sealing against a turning drum. It also isn’t the same as water appearing underneath the machine from an internal hose or the pump — see washing machine leaks during fill or washing machine leaks during drain depending on which stage yours is tied to.
Direct answer: the most likely causes of front load washer door leaking
The list below is ordered by how often each one actually turns up, not by how expensive it sounds. Trapped debris leads it for two reasons: it is the most common cause, and it is the only one on the list that costs nothing to rule out. Everything below it involves either a change of habit or a part, and there is no sense buying a gasket to fix something a five-minute clean would have solved. Work down in order and most people never reach item three.
The reason this cause gets missed so consistently is that a gasket in this state looks perfectly healthy. You are inspecting two surfaces, not one — the folds of the rubber and the ring of glass they press against — and the failure happens at the line where the two meet, which is hidden the moment the door closes. A gasket can be spotless across its visible face and still be held open at one point by something you would have to spread the pleats apart to see.
- Hair, lint, or debris trapped in the gasket folds. The pleats need to seal cleanly against the door glass, and even a small amount of trapped debris at one point is enough to break that seal.
- Excessive detergent or suds. Samsung’s own guidance identifies too much detergent as a cause of foaming that leads to leaking, and buildup can also clog the gasket’s safety air vent.
- A torn, worn, or physically damaged gasket. A genuine defect that needs replacement rather than cleaning — which is exactly why the two free causes above come first.
- A gap between the gasket and door glass with no visible damage — a residue film or a slightly misaligned seal keeping the two surfaces from meeting cleanly even though the rubber itself looks fine.
- Door hinge misalignment, which stops the door closing flush and puts uneven pressure on the seal, producing a leak concentrated at one side rather than at the bottom.
Confirm the exact model, form factor, and cycle stage
The single most valuable thing you can record is the stage at which the water appears, and it is the one detail almost nobody writes down. Once you have mopped up and run another load, you will be arguing with your own memory about whether the water arrived during fill, during the wash tumble, or during the final spin — and that distinction decides whether this is a door problem at all. Note it while the floor is still wet, along with where the water lands relative to the door.
Form factor decides whether this guide applies to your machine in the first place. The door boot and gasket system described here exists only on front-load washers and combo units; a top-load washer seals at a lid that never has to hold water against a spinning drum, so a leak near its lid has entirely different causes. The rest of the information below matters mostly if this ends up as a service call, where a model number turns a vague description into something a technician can act on.
- Model number, on a label at the door frame.
- Form factor: confirm this is a front-load model.
- Exact cycle stage — throughout, mainly during wash when water sits highest in the tub, or specifically during spin.
- Any displayed code or light pattern.
- Load condition — size, and whether an oversized or unbalanced load tracks with the leak.
- Water escaping — how much, and whether it’s a slow seep or an active drip.
- The result of one controlled test — the gasket inspection below.
Normal behavior vs. an actual fault
A trace of moisture on the outer edge of the gasket or the door glass when a cycle ends is residual dampness, not a leak. The inside of that door has just spent an hour in contact with water. A real fault differs in three specific ways: the water appears during the cycle rather than after it, it reaches the floor in front of or below the door, and it repeats across washes. Dampness you wipe away once and never see again was never a fault to begin with.
Foam is its own category, and it is worth separating out before you inspect anything. If what escapes is suds rather than water, the fault is detergent, not rubber. Samsung is unusually direct about this: its SUd/5d family means “The washer has detected an over-sudsing condition,” it is “caused by an incorrect use of detergent,” and it “does not indicate that service is needed.” LG documents that too many suds during spinning make the machine stop specifically to help prevent leaking, adding about two hours to the cycle. If that is your symptom, Samsung washer Sud or 5d error is the more direct page.
Run the safest no-parts checks first
Cleaning fixes this far more often than replacement does, but only when it is done as cleaning inside the folds rather than a wipe across the face. Pull each pleat open with your fingers and work the whole way around, giving the bottom of the gasket the most attention — gravity and repeated water flow deposit everything there, which is also why most door leaks land on the floor directly in front of the machine. Clean the ring of door glass the gasket meets as well, since a residue film there breaks the seal just as effectively as a hair does.
Detergent dose is the second free fix, and it is under-diagnosed everywhere. Excess detergent creates more foam than the machine is built to handle, and foam travels past a seal that plain water would never get through. It also leaves the residue that clogs the gasket’s safety air vent and films the glass. Samsung’s guidance for this symptom includes running the Self Clean cycle, more than once if needed — the same cycle it prompts for every 40 washes on a front-load machine as routine maintenance.
Clean hair and debris from the gasket folds
- Open the door fully and run your fingers gently through each fold, checking for hair, coins, lint, and grit.
- Pay particular attention to the bottom section of the gasket.
- Wipe the folds and the gasket-to-glass contact line with a soft cloth — both surfaces, not just the rubber.
- Run the Self Clean cycle if your model has one. Run it twice if the first pass doesn’t settle it.
Check for trapped clothing and excess suds
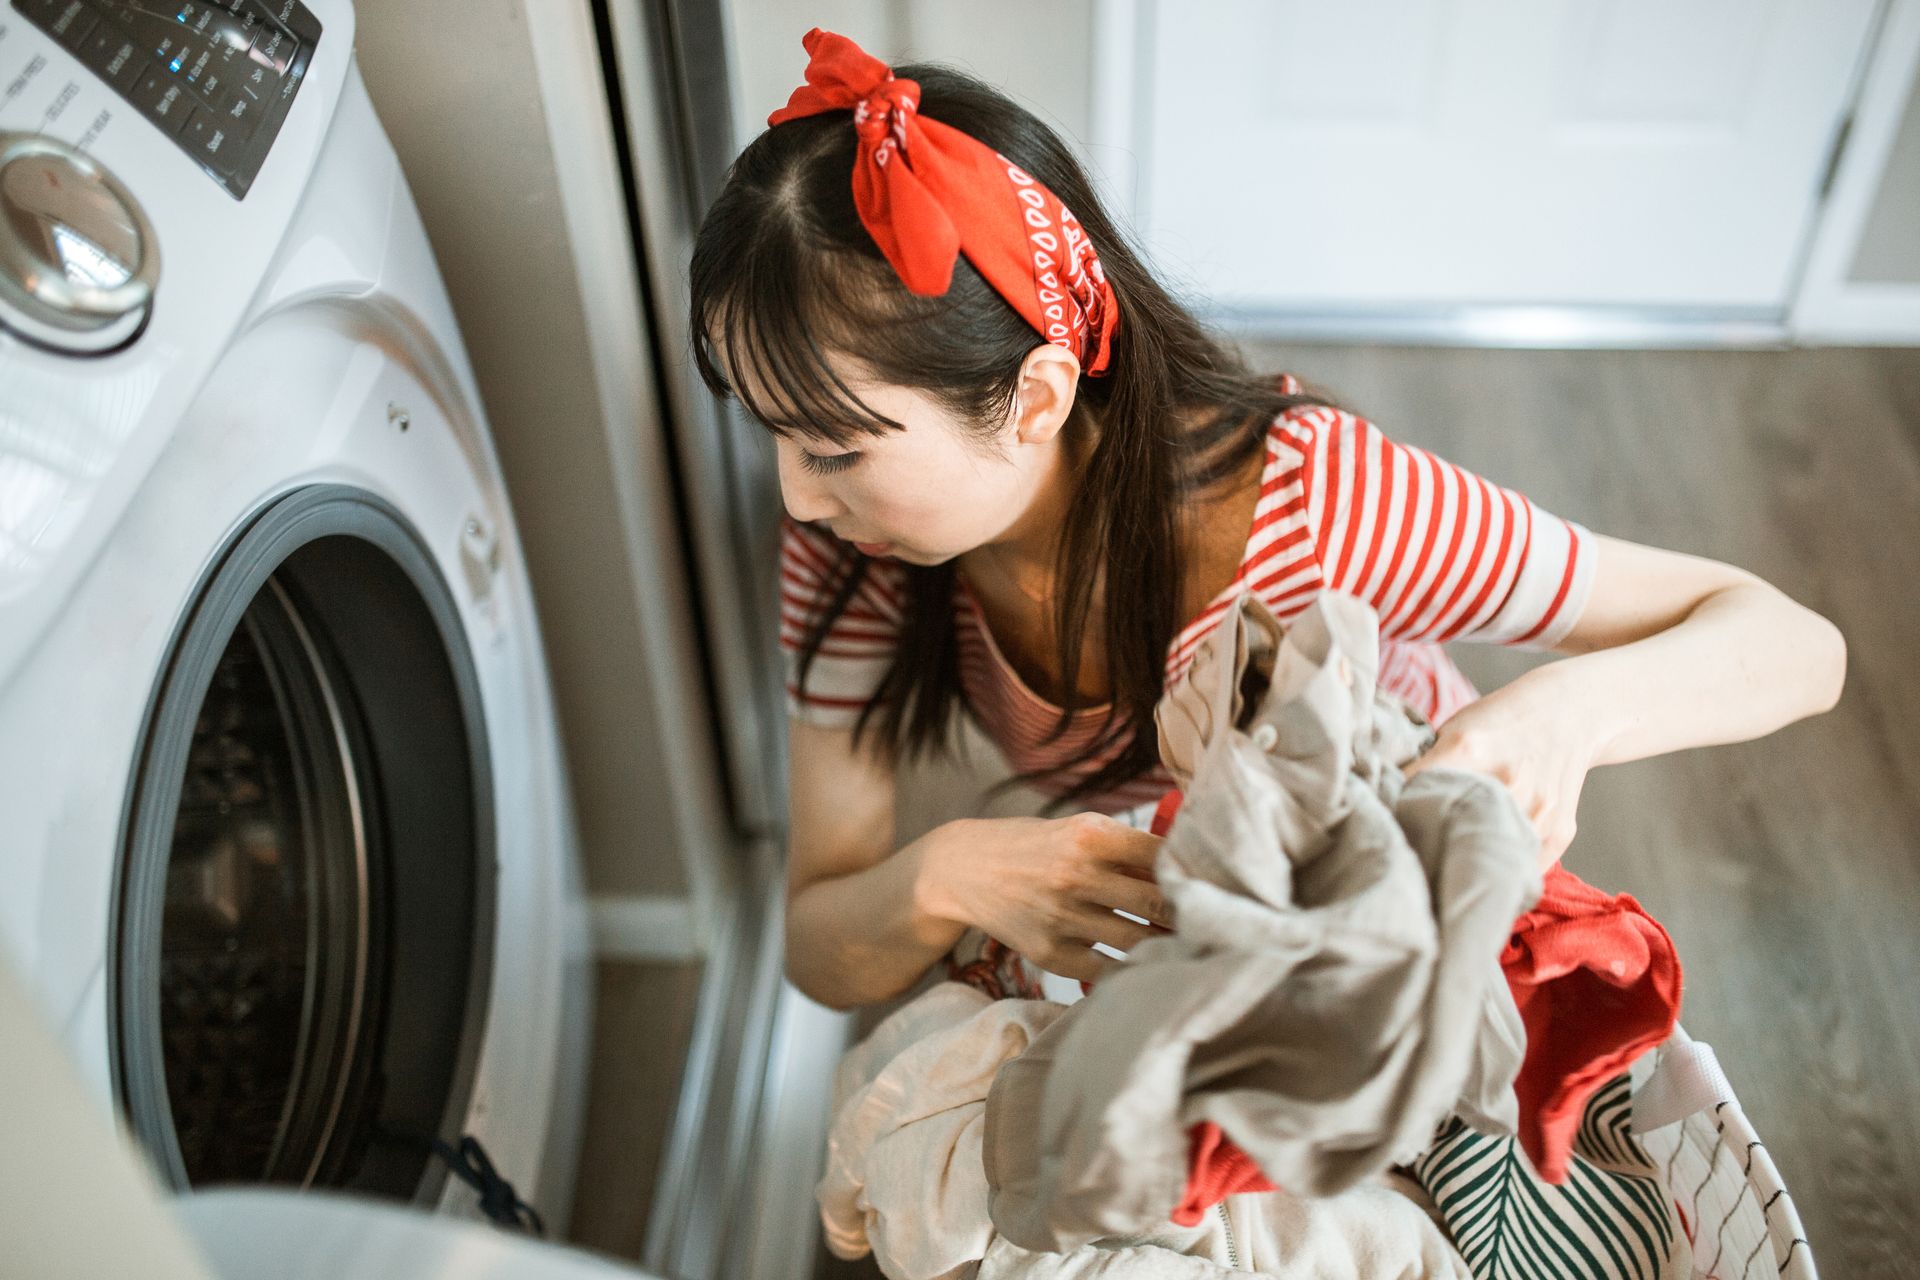
- Confirm nothing is pinched in the door — a drawstring, a strap, or a corner of fabric is enough.
- Cut the detergent dose to the amount specified for your load size and water hardness.
- Remove the dispenser drawer and rinse it thoroughly.
- Confirm the load isn’t packed tightly enough to press against the door during tumbling. LG puts its optimal load at about two-thirds of capacity.
Stop-use warning: If water has reached the power cord, the outlet, or any electrical connection, unplug the washer at a dry point and stop. Don’t force the door shut if it won’t sit flush on its own.
If the folds and the glass are clean, detergent use is reasonable, and nothing is caught in the door, the problem has moved out of the range of things cleaning fixes.
Diagnose door boot, gasket clamp, door glass in the correct order
What the inspection below actually tests is whether the gasket makes one continuous, evenly pressed contact line against the glass. Each step removes one way that line can be broken: something sitting in it, something missing from it, something torn out of it, something blocking the vent that lets the seal behave normally, or a door that isn’t presenting the glass squarely to it in the first place. Check them in this order and you won’t replace a gasket that was never the problem.
Where the water lands is evidence in its own right, and it costs nothing to collect. A leak at the bottom center points at the folds, because that is where debris and residue accumulate. A leak concentrated at one side points at the hinge, because a door hanging slightly low presses hard on one edge of the seal and light on the other. A leak you can trace to one specific spot on the rubber points at the gasket surface itself. Read the location before you start buying parts.
- Gasket folds — confirmed clear per the check above. This alone resolves the majority of door leaks.
- Gasket-to-glass contact line — with the door closed, look for any visible gap or daylight the whole way around.
- Gasket surface condition — feel for tears, cracks, thinning, or stiff rubber. That is physical damage, not a cleaning issue.
- Safety air vent — check this small vent in the gasket assembly for detergent residue or blockage, which Samsung’s guidance identifies as a leak contributor.
- Door hinge and latch — confirm the door closes flush and sits evenly on all sides, with no play at the hinge.
| What you see | What it points at | Next step |
|---|---|---|
| Water at the bottom, gasket looks clean at a glance | Debris or residue in the lower folds | Spread each pleat and clean the folds and the glass contact line |
| Water concentrated at one side, door doesn’t sit flush | Hinge or door alignment | Model-specific documentation, then service |
| Foam rather than water | Over-sudsing from detergent dose or type | Cut the dose; see Samsung washer Sud or 5d error |
| A visible tear, crack, or thin patch in the rubber | Gasket failure | Replacement gasket matched to your exact model |
| Water appears during fill, door and glass dry | Supply side, not the door | Washing machine leaks during fill |
| Water appears only in the final minutes, as the pump runs | Drain path, not the door | Washing machine leaks during drain |
| Everything above clean and flush, leak continues | Gasket or hinge fault needing parts | Stop here and book service |
Past this point, generic troubleshooting stops being reliable, because confirming a specific gasket or hinge fault means comparing against documentation for your exact model. Avoid undocumented procedures and part substitutions you find outside Samsung’s own materials.
Use observations, codes, and manual data before replacing parts
Part compatibility is the trap at this stage. A door gasket or boot seal from one washing machine family is frequently not interchangeable with another wearing the same badge in a similar body, and the mismatch is often small enough that the wrong part will physically fit while sealing badly. Match the part to your model number, not to your brand and not to a photograph. The same goes for the clamp ring and for whatever procedure you follow to get the old gasket out.
Codes are worth checking, but they will not settle this on their own. Samsung’s water level and leakage family — 1E, LE, 1C, LC — means “Moisture is detected somewhere it doesn’t belong, or there is an issue with the sensor itself,” which is a starting point rather than a diagnosis; if that is what your machine is showing, Samsung washer LC or LE leak error covers it directly. A door leak does not have to produce a code at all, so a blank display is not evidence against one.
- Samsung’s official reference for a washing machine leaking from the front door covers gasket inspection, cleaning the gasket and door glass, checking door hinge alignment, running the Self Clean cycle, and cleaning the detergent compartment — directly matching the checks in this guide (what to do if my Samsung washing machine is leaking water from the front door).
- Samsung’s broader leaking-troubleshooting reference covers the door seal alongside other leak sources, useful for confirming the water is genuinely coming from the door (Samsung washing machine is leaking).
- Look up any displayed code against Samsung’s official error code and blinking-light reference before assuming a part (Samsung washing machine information and error codes).
- Confirm any replacement part’s compatibility against your exact model number before purchasing.
If your findings point to a specific component — the door gasket or boot seal, or a hinge alignment fault — verify it against Samsung’s current owner’s manual or an official support article for your exact model before ordering or replacing anything.
Run a controlled test to confirm the repair
One deliberate test beats a normal load, because a normal load hides the result. A big wash throws water higher and leans harder on the seal, so if it stays dry you have learned something — but if it leaks, you won’t know whether the fix failed or the load simply overwhelmed it. Start small and controlled, confirm the seal holds, and only then load the machine the way you normally would.
- Dry the door area and the floor in front of the washer completely.
- Run a short cycle with a small, evenly distributed load and watch through wash and spin.
- Confirm no water appears at the door, glass, or gasket at any point.
- Only then return to a normal-sized load.
If water appears again — even a little — treat that as new evidence and go back to the inspection order rather than repeating the same fix.
When front load washer door leaking is no longer a safe DIY repair
Stop and arrange service through the manufacturer or a qualified technician if any of these apply:
- The gasket is clean, detergent use is reasonable, and the door closes flush, but it still leaks.
- You find a visible tear, crack, or significant wear in the gasket.
- The door won’t close flush with nothing caught in it — a hinge or door-frame alignment fault.
- Water has reached or pooled near any electrical component.
- The drum, door, or any moving part behaves unexpectedly while you’re working near the machine. Unplug it and stop.
FAQ
Water is appearing underneath my washer, not from the door itself — is that the same issue?
No. Water from underneath points at an internal hose or the pump path — see washing machine leaks during fill or washing machine leaks during drain, depending on the stage it’s tied to.
My top-load washer seems to be leaking near the lid — does this guide apply?
No. This guide covers the front-load door boot and gasket system, which top-load washers don’t have.
Does too much detergent really cause a door leak?
Yes. Excess detergent creates more suds than the washer is built to manage, and foam gets past a seal that water wouldn’t. Samsung documents over-sudsing as a detergent problem, not a service one.
My clothes come out soaking wet, and I’ve also noticed water near the door — are these related?
They can share a cause. Excess suds or an overloaded drum contributes to both — see washing machine clothes soaking wet if poor extraction is the bigger symptom.
Is a small amount of dampness on the door glass after a cycle always a problem?
No. Residual moisture right after a cycle is normal. A fault leaks during the cycle, and it repeats.
Can I replace the door gasket myself?
It’s a documented repair on many models, but it usually means removing the front panel or the clamp ring holding the gasket, and that varies by model. Confirm the procedure and the correct part for your exact model first.